You have spatial data and know what you want to analyse, but how do you start? This short tutorial gets you started and guides you step by step through a project setup.
- Install QGIS
This tutorial is based on the QGIS version 3.28 Firenze. It is the most stable version at the time of writing the tutorial. If you already have QGIS installed, you can continue at 2. If you need to download QGIS, you can use the following link: Download QGIS
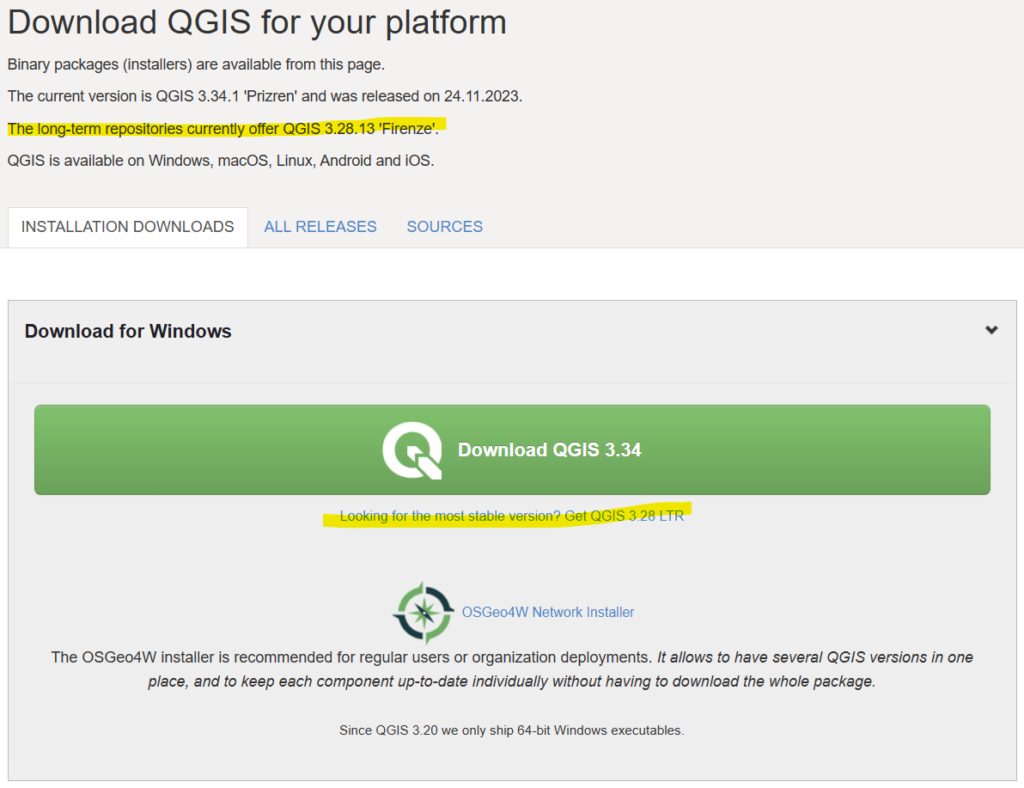
Do not click on the large green button, instead click on the link below “Looking for the most stable version? Get QGIS 8.28 LTR”. If you are a Mac user, there is a download link just below.
We recommend to download the current long term version for your operating system.
Open the downloaded file. A wizard will guide you through the installation process. Allow for the installation and click on “Finish” as soon as the installation has been completed.
- Create a new project in QGIS
Please note: For better understanding, the QGIS commands are marked in bold italics.
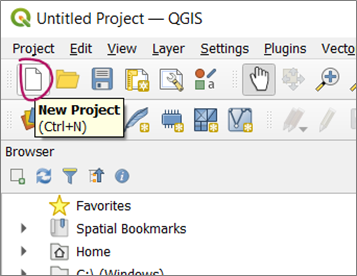
Open the QGIS software. Creating a new project in QGIS is not difficult. You click on the white sheet in the upper left corner:
- Save the project
Click on the disk icon or select Project (in the navigation) –> Save. Choose a meaningful name and a place to store the project. The project will be saved as .qgz file, which corresponds to a zip archive with a QGIS file and a database. Make sure to save the project on a regular basis while you work on it.
- Check and maybe change the coordinate system

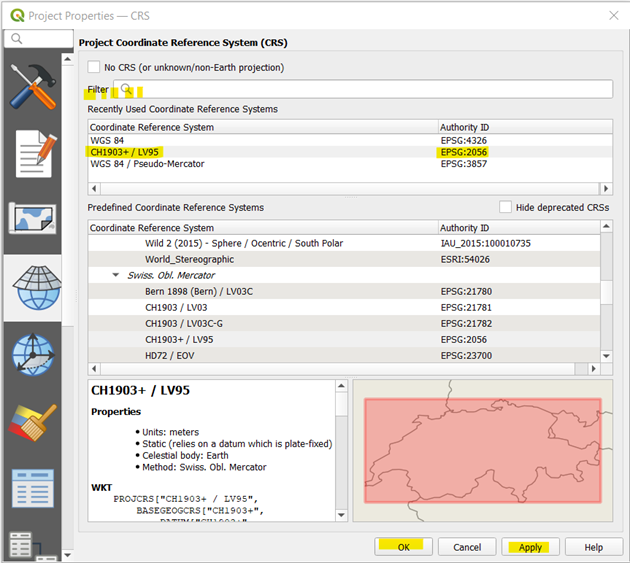
In the lower right corner, you can see the coordinate system (crs) that your project currently uses. The information starts with “EPSG: …” and is indicated by four or five digits. Often, the default crs is set to WGS 84 (EPSG: 4326).
If you are dealing with data regarding Switzerland, we recommend changing it to CH1903+/LV95 (EPSG: 2056). You can change it by just clicking on it. You can either search for a different crs by name or EPSG code. Click on Apply, then OK. Check in the lower right corner, if the change worked.
- Insert Background Map
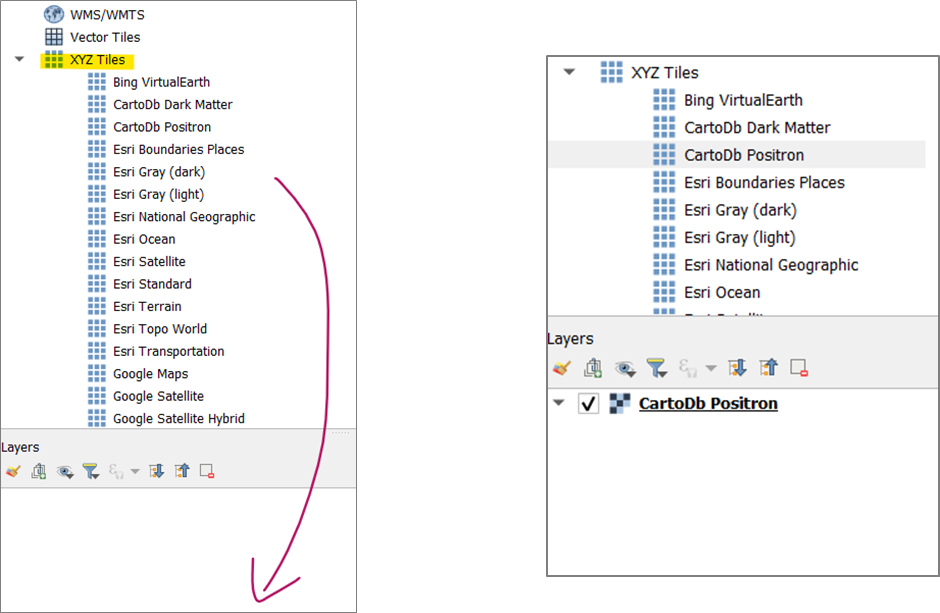
You can get background maps from OpenStreetMap contributors, Swiss OSM Standard, ESRI etc. You just once have to establish a connection the web map service. In the browser window on the left side, there is an entry called XYZ Tiles. Right click on it and select New Connection.
In the new window, you copy the URL* of the web map service you want in the field URL, give it a name and click OK.
*You find a selection of URLs here: https://giswiki.hsr.ch/Hintergrundkarten
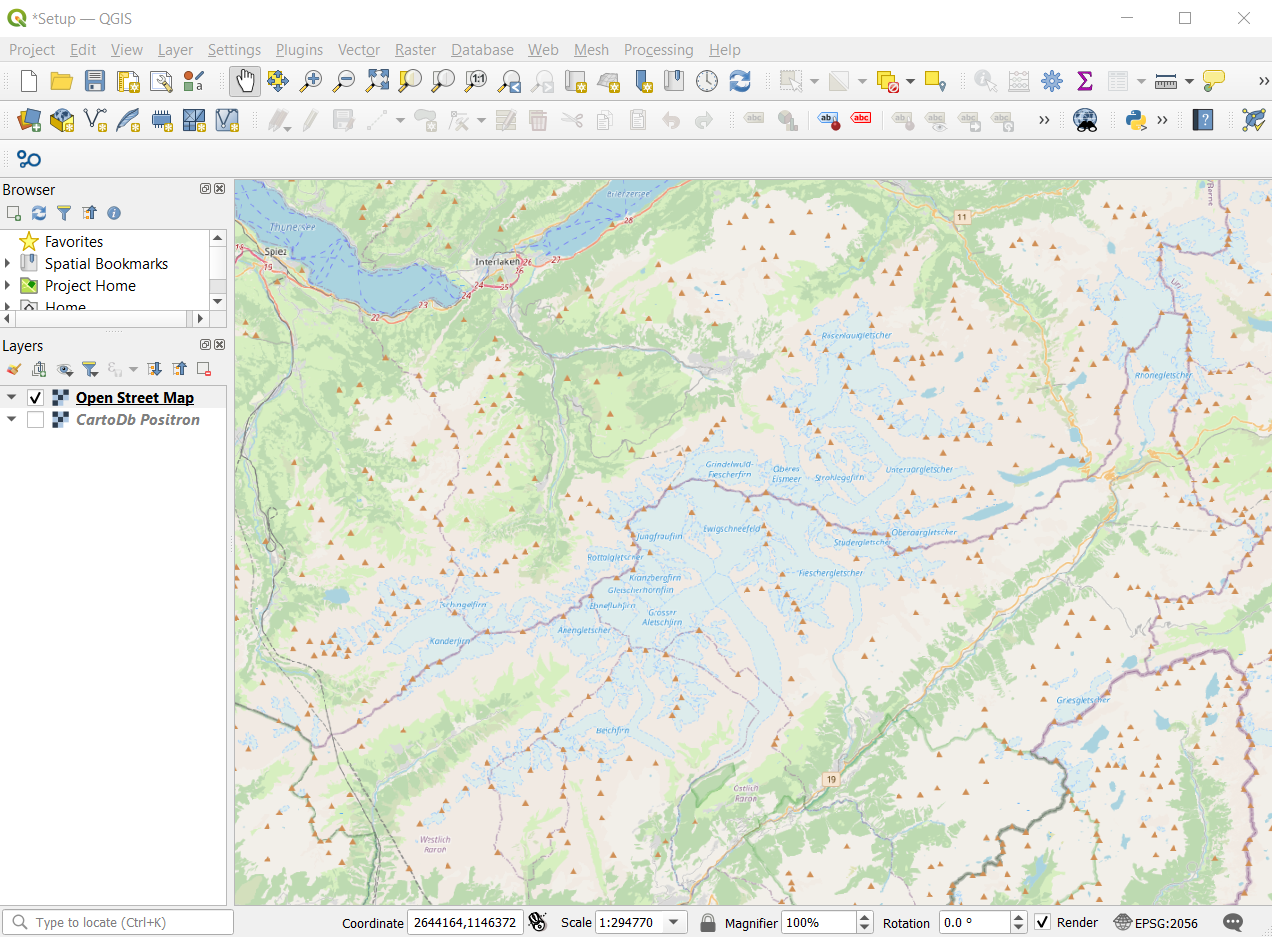
After this step, you see a few background maps under XYZ Tiles. You can choose one (or more) and drag them to the layers window. They will then appear in QGIS in the Layer window.
Alternatively, you can get a background map from Swisstopo: The procedure is similar as the one above, but you establish a New Connection under the folder WMS/WMTS instead of XYZ Tiles. Choose a name and enter the following URL: https://wmts.geo.admin.ch/EPSG/2056/1.0.0/WMTSCapabilities.xml
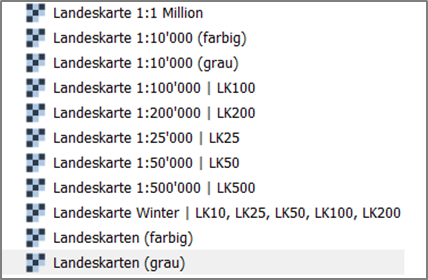
Click on OK and you now see a big selection of different maps. If you want the “Landeskarten” (the national maps), you have to scroll down to the letter L. Drag the one you want into the Layers window.
- Add your data
Now you are ready to add your data. In the main navigation, click on Layer –> Add Layer and choose the corresponding layer format e.g.:
- For shp files, choose Add Vector Data
- For tif files, choose Add Raster Data
- For csv files, choose Add Delimited Text Layer (make sure to specify in which columns the coordinates are located)